
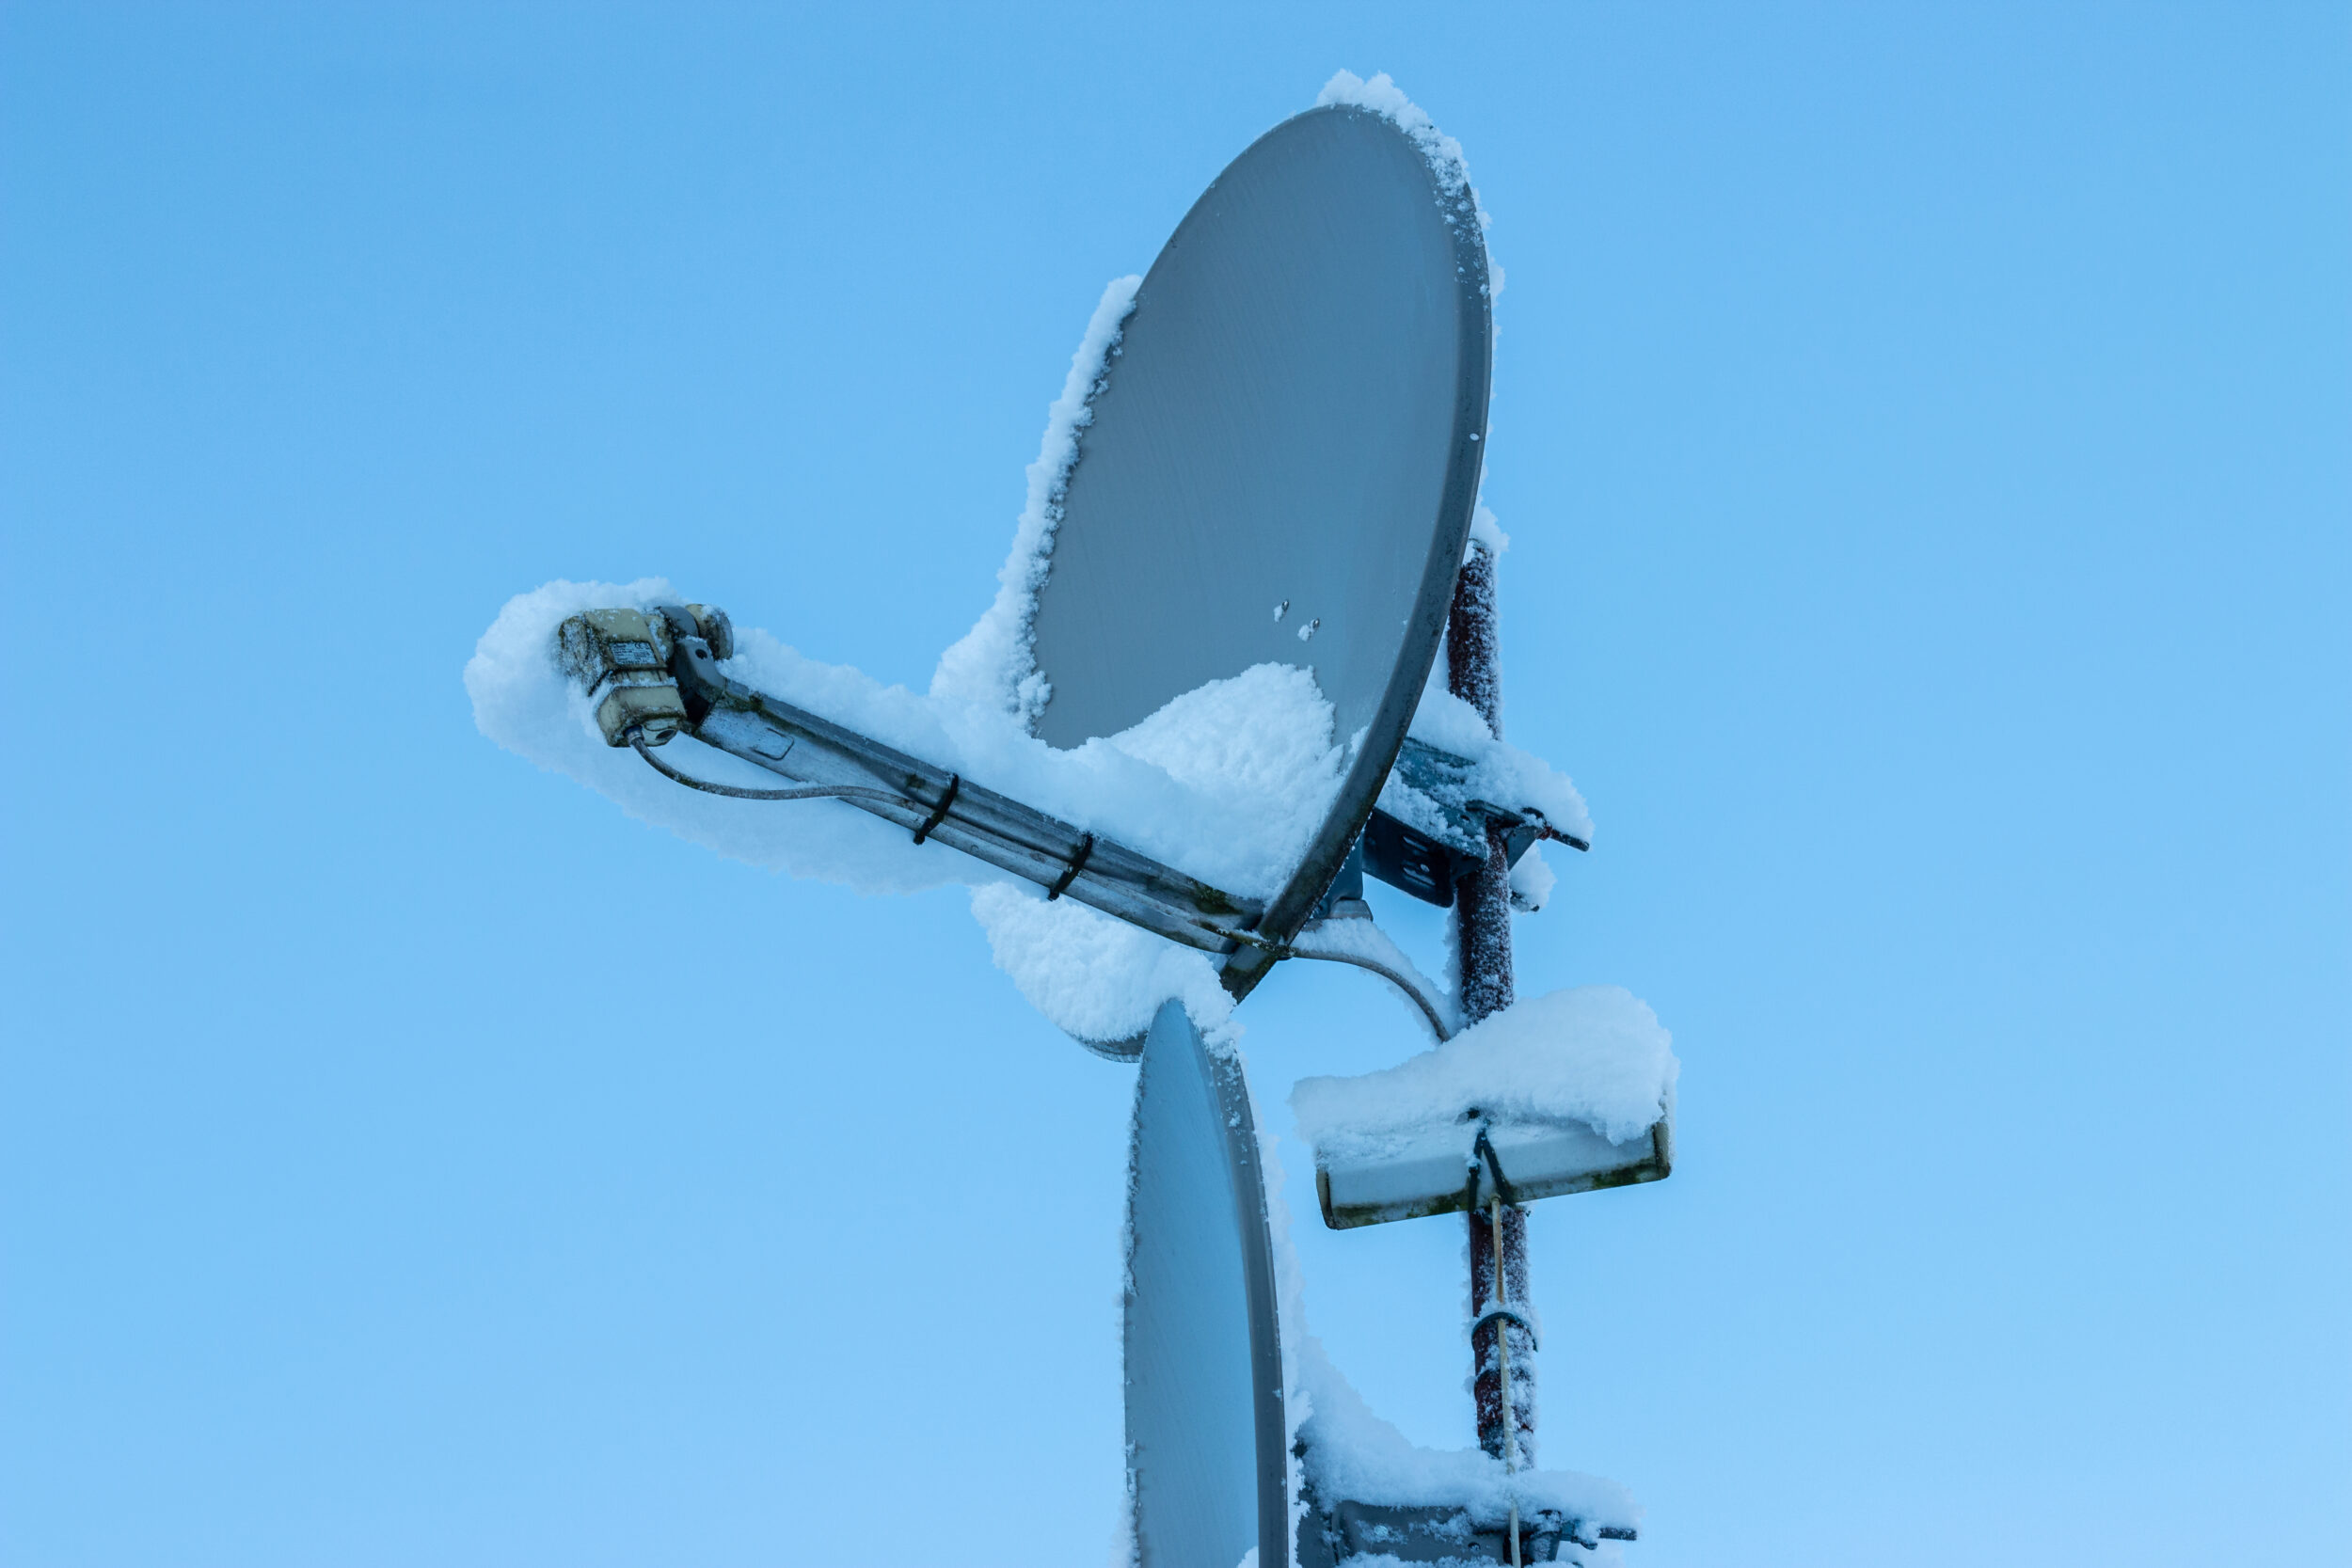
A satellite dish only needs to drift a degree or two out of position to lose reception almost entirely, which is why alignment sits behind most “no signal” and pixelated picture calls we recieve. Getting your satellite dish alignment right means setting three angles precisely – azimuth (compass direction), elevation (upward tilt) and skew (LNB rotation), on a mount solid enough to hold that position through wind and rain.
In this article, we explain why this precision matters, how you can align a satellite dish step-by-step, the faults you might encounter and when it’s worth calling in a professional instead. It’s written from what our engineers see on roofs and walls every week, not from a manufacturer’s manual.
Why Satellite Dish Alignment Is Important
Sky satellites and Freesat channels in the UK are broadcast from the Astra satellite cluster, positioned at 28.2°E, roughly 35,800 km above the equator.
At that distance, the signal arriving at a dish in the UK is narrow and tighly focused, which is what makes satellite reception so much less forgiving than a normal TV aerial, where the broadcast signal spread far wider and a rough approximation is usually good enough.
Three angles have to be right for a dish to lock onto that beam:
- Azimuth – The compass direction the dish faces, left to right
- Elevation – How far the dish tilts up from horizontal
- Skew – The rotation of the LNB (the low-noise block, the arm and receiver head mounted at the front of the dish) so it reads the signal’s polarisation correctly
Miss any one of these by more than a degree or two and reception can fall away sharply.
Set all three angles properly, on a mount that won’t move, and you get a dish that works every day rather than one that works sometimes.
What You Need to Align a Satellite Dish
A few pieces of kit make the difference between a satellite dish alignment done by feel and one done properly.
- A satellite finder meter, or a receiver with a signal strength and quality display. Cheap audible finders that beep faster as signal improves are fine for getting close, but they usually only measure strength. Quality, often shown as SNR (signal-to-noise ratio) or MER (modulation error ratio), is what actually decides whether you get a usable picture.
- A compass or satellite alignment app, to get roughly pointing the right way before fine-tuning starts.
- A spirit level, to check the mounting pole is properly upright. A pole that leans even slightly throws off every angle you set afterwards.
- Elevation, azimuth and skew figures calculated for your specific address. These shift noticeably even over short distances, so a national average is only good for a rough starting point, not the final setting.
- Basic hand tools for the elevation and azimuth bolts, usually a spanner or socket set and a screwdriver.
- A second person, ideally. One person adjusting the dish while the other watches the signal meter or TV screen speeds the job up no end.
- A safe, stable way of reaching the dish, whether that’s steps or a ladder rated for the height, set up on firm, level ground.
How to Align a Satellite Dish Step-by-Step
This is the sequence installers follow for a new dish, or one that’s been knocked completely off and needs setting up from scratch.
1. Check the line of sight
Stand at the mounting point and look south to south-east. Nothing should sit between the dish and the satellite, no tree, extension, neighbouring building or scaffolding.
This is the most common reason a DIY job fails before any adjustment has even begun.
2. Fix the bracket to solid masonry
Render, timber cladding and fascia boards won’t hold a satellite dish securely for very long.
Instead, you should always use wall anchors and coach screws rated for the load, fitted to solid brickwork and the like. Be sure to also check that the mount doesn’t flex before any adjustment has even begun.
3. Set the pole plumb
Check with a spirit level on at least two faces. A pole even a couple of degrees off vertical makes every adjustment you do later inn accurate, no mattter how carefully you set it.
4. Look up the elevation, azimuth and skew for your postcode
Across most of the West Midlands and Staffordshire, these typically sit around 24 to 25 degrees elevation and an azimuth of roughly 146 to 149 degrees true (south-south-east), but treat those as a rough guide only and get the exact figures for your address.
5. Set elevation first
Set the elevation using the scale printed on the rish bracket as a guide, without fully tightening the bolts yet.
6. Set a rough azimuth using a compass
A compass points to magnetic north rather than true north, and the gap between the two, known as magnetic declination, is currently very small across the UK, generally within a degree.
It does vary a little by region though, so it’s worth checking rather than assuming it’s zero.
7. Connect a signal meter
Use a dedicated meter, or the receiver’s built-in signal menu, wired in between the LNB and the receiver to give you a live reading as you adjust the dish.
8. Sweep the Azimuth Slowly
Move in small steps, pausing at each point to let the reading settle. You’re after peak signal quality, not strength.
A strong reading of pure noise still gives you nothing on screen.
9. Fine-Tune Elevation the Same Way
Follow the previous steps to fine-tune the elevation and then go back and recheck azimuth, since nudging one axis very slightly shifts the other.
10. Set skew last
Rotate the LNB in its holder until quality peaks, then tighten every bolt fully while keeping an eye on the reading (again as tightening can nudge the dish out slightly).
11. Confirm the result on the TV itself
Run a full channel scan or retune, checking that the missing channels are back and the on-screen signal quality holds steady rather than dipping.
Realigning a Satellite Dish That’s Already Installed
Realigning a satellite dish is different to a fresh install and alignment, because it’s usually still pointing broadly the right way but has just drifted off slightly. Before touching any of the angles, look at the following first:
- The mount and bracket – A bent, cracked or loose fixing won’t hold a new alignment no matter how carefully it’s set.
- The LNB itself – For physical damage or water getting in, especially if the fault turned up suddenly after a storm. A failing LNB causes symptoms that look almost identical to misalignment.
- Anything new blocking the view – Such as a tree that’s grown since installation, a new extension next door, or another dish or aerial fitted nearby.
Once those are ruled out, small nudges to azimuth and elevation, checking signal quality after each one, will usually bring a slightly drifted dish back into line far quicker than resetting all three angles from scratch.
Common Causes of Satellite Dish Misalignment
Most misalignment comes down to one of a handful of repeat offenders. Knowing which one you’re dealing with saves time, since a bracket that’s failed needs a different fix to a dish that’s simply drifted a degree or two.
- Wind and storm movement
- Bracket or fixing failure
- New obstructions in the signal path
- LNB failure or water ingress
- Cable and connector faults
- Mixing up signal strength and signal quality
- Skew set by eye rather than measured
None of these are unusual or hard to spot once you know what to look for. The harder part is telling them apart from the outside, which is why a proper signal quality check, rather than a guess, is worth doing before assuming the dish itself needs moving.
When DIY Realignment Isn’t the Right Call
Realigning a dish yourself is realistic if you’re comfortable working at height and happy to fine-tune patiently. Call a professional, like our team at AAV Smart Homes, instead if:
- The dish isn’t safely reachable with a ladder or steps, such as on a high gable or steep roof
- You’ve been through the steps above and still can’t get a stable signal
- There’s visible damage to the dish, bracket or LNB
- You want a European position such as Astra at 19.2°E or Hotbird at 13°E, both of which need bigger dishes and tighter alignment than Sky or Freesat
- The fault appeared after other building work, such as a roof replacement, where the dish may have been remounted without recalibration
Professional installers also use calibrated meters that read quality more precisely than most consumer kit, which matters in marginal reception areas where the last degree of accuracy decides whether the picture holds.
Conclusion
Correct alignment is what turns an installed dish into a reliable one. Get the mount solid, the three angles set precisely and the reading judged on quality rather than strength, and the dish will hold its signal through wind and rain that would knock a rough setup off course. Most faults, whether it’s a loose bracket, a growing tree or a failing LNB, are easy to diagnose once you know what to look for, and just as easy to put right with the correct tools.
Where a dish is hard to reach safely, keeps drifting or the fault has followed storm damage or building work, it’s worth having it looked at properly rather than re-guessing the angles. our engineers carry out satellite dish installation, realignment and repair works across local regions like Cannock, Lichfield, Birmingham, Walsall, Wolverhampton, Telford, Solihull and the surrounding West Midlands.
Get in touch for a quote, or to have a dish that’s fallen out of alignment put right.